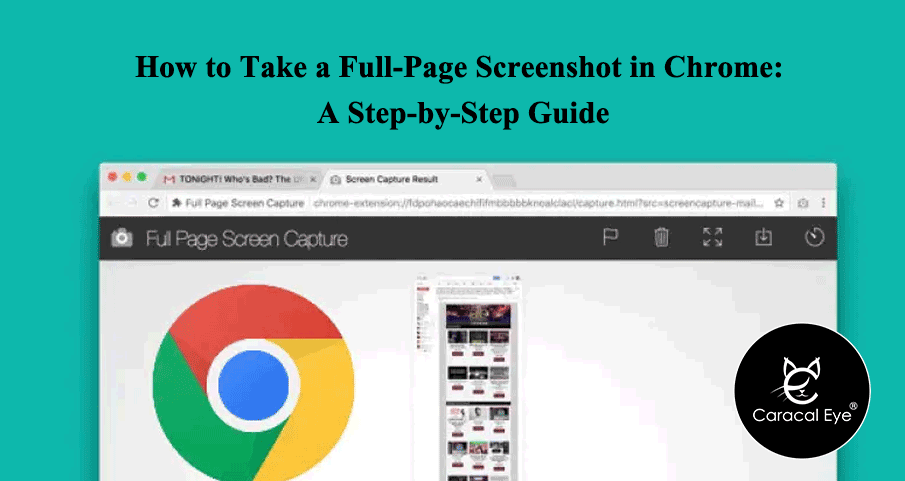
How to Take a Full-Page Screenshot in Chrome: A Step-by-Step Guide
Introduction
Capturing a full-page screenshot is a useful feature when you want to save an entire webpage as an image for reference or sharing purposes. While Chrome offers built-in screenshot capabilities, it may not be immediately apparent how to capture a full-page screenshot. In this step-by-step guide, we will walk you through the process of taking a full-page screenshot in Chrome, whether you’re using a Windows, Mac, or Linux operating system. By following these simple instructions, you’ll be able to capture complete webpage screenshots hassle-free.
Table of Contents
- Understanding the Need for Full-Page Screenshots (Approximately 150 words)
- Method 1: Using Chrome Developer Tools (Approximately 250 words)
- Method 2: Utilizing Browser Extensions (Approximately 250 words)
- Method 3: Using Online Screenshot Tools (Approximately 250 words)
- Conclusion (Approximately 100 words)
Understanding the Need for Full-Page Screenshots
While regular screenshots capture only the visible portion of a webpage, full-page screenshots capture the entire length of the webpage, including content that may require scrolling. This is particularly useful when you want to preserve the layout, text, and images of an entire webpage as a single image file.
Method 1: Using Chrome Developer Tools
Chrome Developer Tools provides a built-in option to capture full-page screenshots. Follow these steps:
- Open the webpage you want to capture in Chrome.
- Right-click on any element of the page and select “Inspect” from the context menu.
- In the Developer Tools panel that opens, click the three-dot menu icon (⋮) in the top-right corner.
- Select “More tools” and then choose “Capture full-size screenshot.”
- A full-page screenshot will be generated and downloaded as an image file.
Method 2: Utilizing Browser Extensions
There are several browser extensions available that simplify the process of taking full-page screenshots in Chrome. Follow these steps to use an extension like “Full Page Screen Capture”:
- Visit the Chrome Web Store and search for “Full Page Screen Capture” or a similar extension.
- Click “Add to Chrome” and confirm the installation.
- Once the extension is added, navigate to the webpage you want to capture.
- Click on the extension icon in the Chrome toolbar.
- The extension will automatically scroll through the page and capture a full-page screenshot. You can then save the screenshot as an image file.
Method 3: Using Online Screenshot Tools
Alternatively, you can use online screenshot tools that are specifically designed for capturing full-page screenshots. One such tool is “FireShot”:
- Open Chrome and search for “FireShot” or a similar online screenshot tool.
- Visit the website of the tool and follow the provided instructions to install it.
- Once installed, navigate to the webpage you want to capture.
- Click on the tool’s icon in the Chrome toolbar.
- The tool will capture a full-page screenshot and provide options to save it or edit it further.
Conclusion
Capturing full-page screenshots in Chrome is an essential skill for preserving entire webpages. By utilizing the methods outlined in this guide, you can easily take full-page screenshots on Chrome, whether it’s through the built-in Developer Tools, browser extensions, or online screenshot tools. Experiment with these methods to find the one that suits your needs and workflow the best. With the ability to capture full-page screenshots, you’ll be able to save and share complete web content effortlessly.
