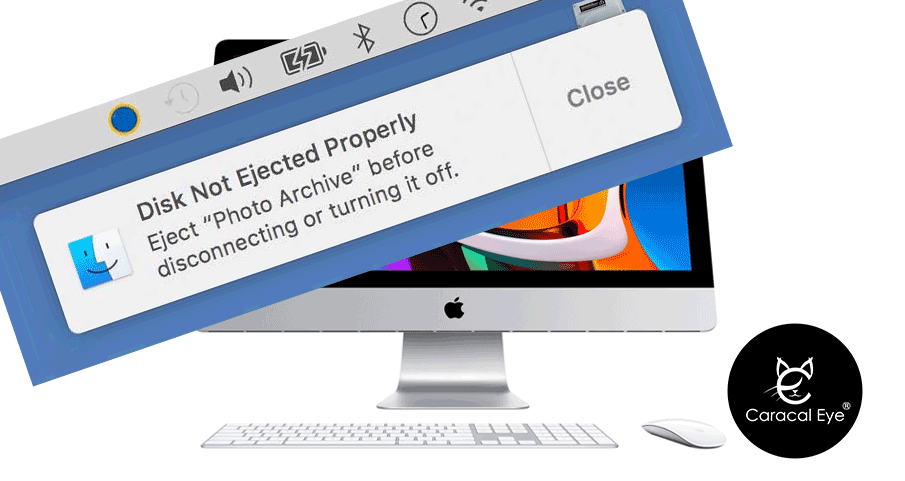
Fix Disk Not Ejected Properly on Mac: A Comprehensive Guide
Introduction
If you’re a Mac user, you might have encountered the frustrating issue of a disk not ejecting properly. Whether it’s an external hard drive, a USB flash drive, or an SD card, this problem can disrupt your workflow and potentially cause data loss. However, fear not! In this comprehensive guide, we will walk you through the troubleshooting steps to fix the “Disk Not Ejected Properly” issue on your Mac. By following these methods, you’ll be able to safely eject your disks and maintain the integrity of your data.
Table of Contents
- Understanding the Importance of Ejecting Disks (Approximately 150 words)
- Common Reasons for the “Disk Not Ejected Properly” Issue (Approximately 200 words)
- Method 1: Ejecting Disks via Finder (Approximately 200 words)
- Method 2: Using Terminal Commands to Eject Disks (Approximately 250 words)
- Method 3: Using Activity Monitor to Force Quit Applications (Approximately 250 words)
- Method 4: Restarting Your Mac in Safe Mode (Approximately 250 words)
- Method 5: Resetting the System Management Controller (SMC) (Approximately 250 words)
- Prevention Tips: Ensuring Proper Disk Ejection (Approximately 150 words)
- Conclusion (Approximately 100 words)
Understanding the Importance of Ejecting Disks
Before diving into the solutions, it’s crucial to understand why ejecting disks properly is essential. When you eject a disk, your Mac finalizes any read/write operations and ensures that no data is being actively transferred. Failure to eject a disk properly can result in data corruption or damage to the disk itself. It’s a good practice to always eject disks before physically disconnecting them from your Mac to avoid potential issues.
Common Reasons for the “Disk Not Ejected Properly” Issue
Several factors can contribute to the “Disk Not Ejected Properly” issue on your Mac. Some of the common reasons include:
- Active file transfers or applications accessing the disk
- Background processes preventing disk ejection
- Disk errors or inconsistencies
- Outdated system software or firmware
- Hardware-related issues
It’s crucial to identify the underlying cause before proceeding with the troubleshooting steps. This will help you choose the appropriate method to fix the issue.
Method 1: Ejecting Disks via Finder
The simplest way to eject a disk is through the Finder. Follow these steps:
- Ensure that all applications using the disk are closed.
- Open a Finder window and locate the disk on the sidebar.
- Click the Eject button next to the disk’s name.
Method 2: Using Terminal Commands to Eject Disks
If the “Disk Not Ejected Properly” issue persists, you can utilize Terminal commands to force eject the disk. Here’s how:
- Launch Terminal from the Applications/Utilities folder.
- Type the command “diskutil list” to display a list of connected disks and their identifiers.
- Identify the disk you want to eject and note its identifier.
- Enter the command “diskutil eject [disk identifier]” to force eject the disk.
Method 3: Using Activity Monitor to Force Quit Applications
Sometimes, certain applications may hold onto the disk, preventing its ejection. You can use Activity Monitor to force quit these applications:
- Launch Activity Monitor from the Applications/Utilities folder.
- Select the “All Processes” tab and search for the application that might be using
- Select the application and click the “X” button in the toolbar.
- Confirm the force quit action.
Method 4: Restarting Your Mac in Safe Mode
Booting your Mac in Safe Mode can help resolve software-related issues that may be causing the disk ejection problem:
- Shut down your Mac.
- Press the power button and immediately hold the Shift key.
- Release the Shift key when you see the Apple logo and progress bar.
- Once in Safe Mode, attempt to eject the disk again.
Method 5: Resetting the System Management Controller (SMC)
Resetting the SMC can address various hardware-related issues, including problems with disk ejection:
- Shut down your Mac.
- If your Mac has a removable battery, remove it.
- Press and hold the power button for at least 10 seconds.
- Reconnect the battery (if applicable) and power on your Mac.
Prevention Tips: Ensuring Proper Disk Ejection
To avoid encountering the “Disk Not Ejected Properly” issue in the future, consider implementing these preventive measures:
- Close all applications before ejecting a disk.
- Wait for any file transfers or disk operations to complete.
- Always use the eject button in Finder or the eject command in Terminal.
- Keep your macOS and applications up to date.
- Regularly perform disk checks and maintenance.
Conclusion
Experiencing the “Disk Not Ejected Properly” issue on your Mac can be frustrating, but with the methods outlined in this guide, you can overcome this problem and safely eject your disks. Remember to identify the underlying cause and select the appropriate troubleshooting method. By adopting preventive measures, such as properly closing applications and keeping your system updated, you can minimize the chances of encountering this issue in the future. With these solutions at your disposal, you can maintain the integrity of your data and enjoy a seamless Mac experience.
